Art Tutorial Chapter 2
Art Tutorial Chapter 2
Pick up your tools, don't be a fool (Part 1)

Welcome back to another art tutorial! We're so glad to see that last time lot of you found interest in what we wrote. You gave us an incredible support and we hope to don't disappoint you with our nexts art tips! So, let's talk about tools you need to get started! This chapter may be long, so we divide this in two parts.
INTRODUCTION AND TRADITIONAL ART
1) Traditional or Digital?

We're going to talk more deeply about this soon... for now we just had to say: this two methods may seems different, but at the end there's not much difference. It's all about comfort, style, money in some case, and personal preferences.
I'll explain this in the image below:

Seen? Not much difference at all ;)
What we can say shortly is that working traditionally may cost less (not at professional level, because supplies cost a lot and also not last long) , while digital make some process much faster and the CRTL+Z function is a pure divine blessing.
The center of the discussion is: Traditional and Digital are not enemies, who use to be traditional is not better than who use digital and viceversa, and you not need to learn one rather then the other one first. You will get lot of satisfacion from both, you just had to choose the right tools for you! Each have some exclusive feature and the best part is that you can mix them together creating some unique masterpieces.
But we had to say this: in this modern world being a Digital Artist have a lot of more benefits in terms of time, reproducibility and effectiveness than traditional art.
Every artistic current is the daughter of his time and it is nice to live the present, because one day there will be no more and we'll understand his preciousness too late. So, don't reject something just for principle, I know that what is new can be scary.
2) Sketch'n'painting!

There's a lot of things that usually nobody say, and this is an unpopular one of those: Drawing is a thing. Painting is another.
To be a successful artist or at least to enjoy what you're doing, you don't need to know both, but of course I suggest to have a complete perspective for make art. So, the thing is, make practice in drawing, make a lot of sketches, focus on the shapes, on your lines, but also make some exercise making volumes with colors, modeling with light and shadow, express with color blends. My advice is to make some practice in sketching starting from simple things, for example your smarthphone, some fruits, a pencil... whatever you want. At the beginning keep focus on the silhouette, then try to split the zones with lots of shadow with the ones with lights. At this point you will have already a good awareness for drawing something. To make practice with painting, try to trace an image or a photo placing a sheet of paper on a light source if you're working traditional, or maybe use an image on a different layer in digital. Then focus on the shadows and light contrast, on the colors and reflections.
Every teacher will say that you need to learn drawing before painting... but at the beginning, only focus on some black lines may be frustrating and alienate someone to continue, but if you learn how to sketch and at the same time you learn how the color works, you will see how much you can do and this may be a good motivation to don't give up. Believe me, it works!
3) What do I need for Drawing Traditionally?

The market is full of choice, so you can be guided by your personal tastes, but basically you may know that with better materials generally come better results. At the beginning you don't need a 10$ piece of paper just for sketching, but keep in mind that don't be severe with yourself. If many artists around here make beautiful works, it's not because they are gods, but because they have done so much practice, they know their tools well and have the right materials. Time to time ;)
We'll talk more about traditional tools in the future, for now here's a quick start guide for the techniques I used the most.
TRADITIONAL DRAWING Essential things are:
- A sketchbook (rough paper for artistic stuff, depends on your media) you can choose a classic white paper or a midtone (better for make highlight with white pencil). If you want something super portable to take everywhere, some hardcover little sketchbook should fits for you, but when you're at home or comfortably sit on a desk or table I suggest a simple album of sheets or with a spiral binding. Dimensions may be your personal choice, but with an A4 you will have more supporting surface and this could translate in much more freedom while drawing. About the thickness, is better something around 90g/m , with some thinner paper you may incur in breakages, and problems with color saturation. Put simply, you could make a mess full of stains. Cool grunge stuff? I don't think so.
- Graphite Pencil (for the beginning, I suggest an HB for standard lines, a 2B for shadows and 2H for soft lines) and eventually a Penknife (it's important to have the tip not consumed too much). H stay for Hardness, wich means you will have clear lines, basically grey, and the overall feeling is of an hard stretch. You should use it to set the lines at the beginning of the drawing or to create clean strokes. B stay for Blackness, wich means you will have dark lines, thick, shaded. It's ideal for create nuances, thicken the edges, and make shadows. HB unites both. It's a standard pencil, useful in many situations.
Alternative: a
technical pencil
is also a great choice , you have the same kind of tips, same tips, and you not need a Penknife, It will be easier to keep the same trait. And be careful, the tip can easily break, but it's nothing.
- Eraser - everyone make mistake, and from that we will learn a lot. Also the best artists out there made mistake, but what is important is to recognise this errors and resolve it fast. A little at a time, you will learn to make a drawing fast without make lots of mistake, but for now, don't be afraid to erase what's wrong. So, nobody will see that :P And for more complex drawings:
- Smudge - some of you may have use fingers in the childhood to color some drawing with pencil powder, and also you remember some good shades from it, right? Smudge is basically this principle, a compressed cardboard pencil wich serves to blend the graphite. And... don't get me wrong, it's absolutely much more better than fingers, it gives much control and complessity to lights and shadows. You will be amazed!
- Charcoal and Chalk - for less clean drawing but with beatiful shades and effect like the old masters, this may be the right choice for you. Usually they are so dirty, and I suggest to use a larger drawing surface for that. They're the equivalent of a very soft pencil with a very large tip.
- Ink - A classic old technique, you can take ink from a nib or use brushes to create strong and defined lines.

For COLORING:
- Coloured pencils - There's too much choice, really. What I can tell you, of course, is that more colors you have, better the results will be. Be careful to not saturate the paper with color, use a rough paper to give a good texture and you will get some great work.
- Markers - Many of you who are interested in manga, comics or design will surely know this technique. It's a very expensive tool, but also very cool. Generally they are alcohol based colors with a felt tip that allow you to color quickly and with really beautiful shades. To get good results, many, many colors are needed, and I also recommend a special paper for alcohol colors, because they really stain a lot. It also stink a little.
TRADITIONAL PAINTING
There's so much cool techniques out there, and you really have spoilt for choice. For now, the ones I suggest are Acrylics and Watercolors:
- Acrylics (more flexible than oils) - The type of standard painting that dry quickly compared to oil paintings and can be diluted with other mediums and can be used over many different supports, such paper, wood, canvas, metal. They require careful cleaning because when they dry up ... problems comes. For Acrilics you need:
- A Canvas or a thick paper - even if you can paint on a lot of rigid supports, these are the most common and versatile methods. Various sizes, depending on the type of work you want to do and even if you want to create something transportable rather than a huge panel.
- Selection of Brushes - (I suggest synthetics one) Every brush have is own effect, so choose that according to your preferences. At the beginning, a round-tipped and a flat brush can be enough.
- Colors - you can start with just the basic color (yellow, red, blue, white, black) but a ready made pigment will ever be more brillant. You will find them in jars or tubes, on different sizes. It depends on how much you have to paint, and always close everything well to not make them dry.
Watercolors ( dry, liquid, guache or ecoline) - is a very old techniques, one of the most loved of all time. It allows you to quickly color sketches, create unique effects, and the fact that is not heavy allows you to work with the background of the paper, acting by levels. It's perfect for sketching, illustrations, comics or travel, usually the sets are sold in small boxes not bigger than a smarthphone. For Watercolors you need: - Watercolor paper (basically sheets of cotton or tick paper, since water is used, the paper tend to deform a lot. An advice is also to stop the edges with a scotch tape.
- Brushes (basically fine brushes, always synthetic) you don't need expensive brushes because they tend to ruin itself very little over time. Generally you will need small and pointed brushes, no special shapes are needed for now.
- Colors - The watercolors comes in various forms, in godet, in tubes, or in the form of inks or bottles of concentrated color (usually called Ecoline) Just try and choose your favorite. In general tubes it's called Gouache and it is an opaque painting compared to the transparency of the classic watercolor in Godet. However, Those already liquids are very bright.
- Black liner or ink - If you want to give clear contours to the shapes or make shadows. There are special pens with different tips, and even pens with the tip similar to a brush. Otherwise you can think of a more classical solution with a nib dipped into liquid ink.
- White Pen - to add some light strokes. Purists would say that white is obtained only with the non-color of the sheet. In my opinion, with a white pen the effect is more cool. Always depends on what you have to do, be creative!
- Some Water in a Jar - It's important to wash your brushes and of course knead the colors. You don't need specific materials, some jars of marmalade or homogenized food for childrens are a good choice.

My favourite pick is drawing with black pencils and ink, and put some colors on with watercolors, because it create some cool effects, dries quickly, and it's easy to carry around and combined with Digital Media create some great stuffs. Try to believe!
We will talk again about all of this. I should need an entire book to explain everything we have to say, but until we have not the funds to support a similar production... meh. But of course if you're interested in seeing a future for this project, just a Like, a Reblog, a sharing on your socials may help a lot! :D
Next time's episode: Digital Art Tools!
More Posts from Moonpix-art and Others
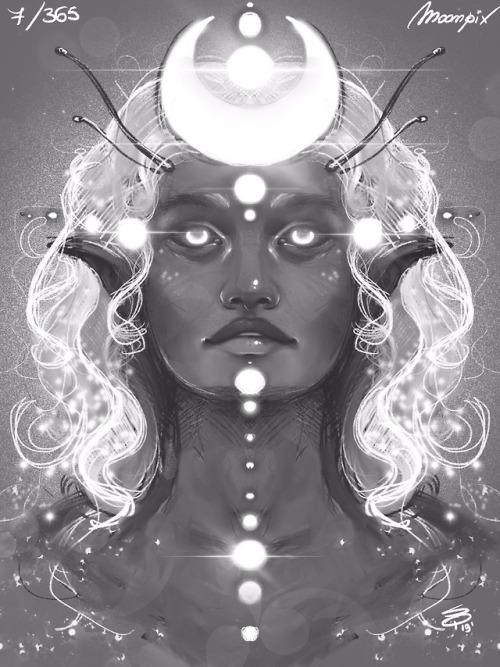
dailydrawing 7/365 A quick fantasy portrait made in Procreate ;)
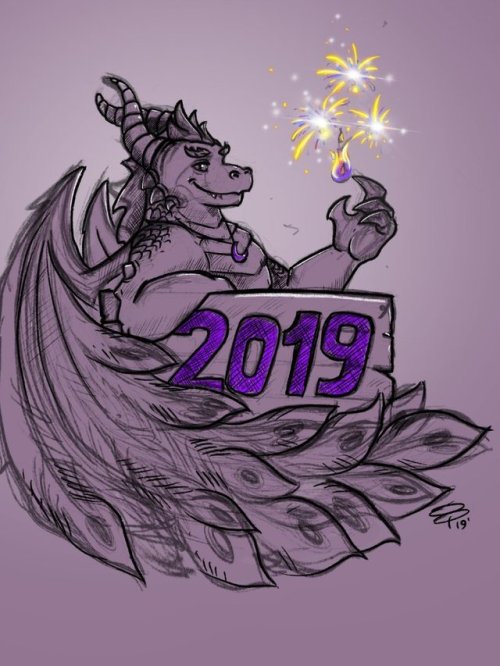
Happy New Year! 🎉
This 2019 I promised myself that I will do at least one drawing a day... this is the first! (this was yesterday’s drawing, but of course I forgot to post here on Tumblr 🤭)
I just have to fix some hassle these days, and then I will start with Paintings, Twitch, etc. as usual.
Best wishes to all! 😄

Inktober day 15: “Your heart will explode”. Like the previous two weeks, let’s start this Monday with something Ancient, The God of the Qiraji, C’Thun!

This was our first digital painting streamed on Twitch! Video process available on our profile:
https://www.twitch.tv/moonpix/videos/all
Greetings from Moonpix!
We are Stefano and Luna, a couple of artists and dreamers who have decided to create Moonpix Studios, trying to realize our great dream of sharing with as many people as possible our passion and creativity.
Whenever we draw simple lines on paper, painting, modeling in 3D or animate a character and see the world created by our imagination take shape slowly in the real world, we feel great emotions. Every time, that same emotion fills us with joy, shining the sun even in the darkest days. And that is why our goal is to gift to others this immense joy, giving a pinch of happiness to those who are struggling to find it. We believe that dreams are one of the most beautiful shades of life, so ... let's dream together!
This is our first post on Tumblr, we hope to meet a lot of fantastic people and share with you many beautiful things! :D
Here's some of our old paintings, hope you like and... stay tuned for more!


A new fantasy sketch! We just added a pinch of color to make everything more dynamic. Made in Procreate with iPad, hope you like it ;)

Alexstrasza the Life-Binder, digital painting fanart from Warcraft and Heroes of the Storm, made in Corel Painter!
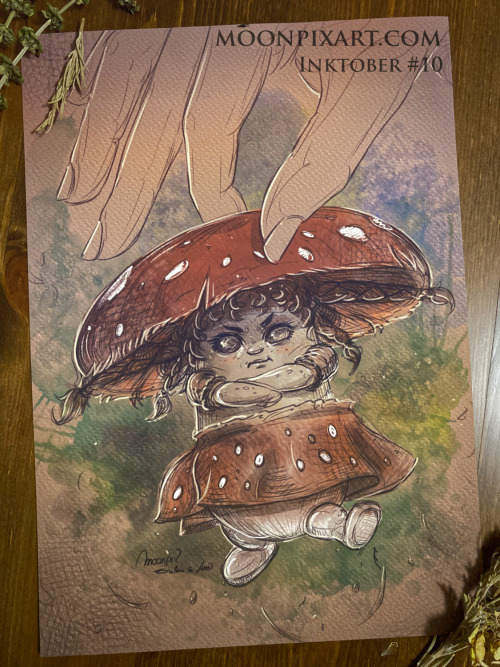
Pick was the theme for today's Inktober. When we are in the open, sometimes we find ourselves imagining being surrounded by fantastic creatures, so we immediately thought about this scene with this little one!

Inktober Day 16: The Emerald Queen Ysera. I've always liked the history of the Dragon Aspects, it's really a pleasure to draw them ^^ But when she died in Legion... oh... 😭


Here's some scary and creepy illustrations. Maybe it was better suited to Halloween, but there it is. A Murloc zombie, an Undead, a Fel Orc and a bloody Troll. A perfect mix :P
Also, the last picture is one of the few 3D portraits we've made. If you are interested we can make others ;)
-
 blondeandstupid liked this · 4 years ago
 -
 cansofcats liked this · 4 years ago
 -
 anotheroddfish liked this · 4 years ago
 -
 intolay liked this · 5 years ago
 -
 xinobuddy liked this · 5 years ago
 -
 ninjastarryflower321 reblogged this · 5 years ago
 -
ninjastarryflower321 liked this · 5 years ago
-
 nevenrie liked this · 5 years ago
 -
 lyllyan-weiss liked this · 6 years ago
 -
fandomsuniteuniverse liked this · 6 years ago
-
 brattyblacktrophywife liked this · 6 years ago
 -
 ironairi liked this · 6 years ago
 -
 amaricreates-moved reblogged this · 6 years ago
 -
 betheroo17 liked this · 6 years ago
 -
 justagirlsw liked this · 6 years ago
 -
 arqueervist liked this · 6 years ago
 -
 mavindxy-blog liked this · 6 years ago
 -
 quattroelle-blog1 liked this · 7 years ago
 -
 inkinjota liked this · 7 years ago
 -
 metal-o-halos liked this · 7 years ago
 -
 nercowitxh reblogged this · 7 years ago
 -
nercowitxh liked this · 7 years ago
-
 dragonsoulage liked this · 7 years ago
 -
 moonpix-art reblogged this · 7 years ago
We are Stefano and Luna, a couple of Artists, Daydreamers and Fantasy Adventurers!
163 posts